 Listicle
Budget Survival Gear for Emergency Kits That Works
Last Updated: November 2, 2026
Quick Summary
Budget survival gear for emergency kits works best when you build in tiers instead of buying a preassembled kit. Start with a $40 single-person core covering water treatment, cutting, signaling, and light, then scale up for your family and add comfort items last. Check expiration dates and water-treatment claims before you buy.
- A basic 72-hour family kit typically costs $100 to $150, but building item by item stretches each dollar further.
- The $40 Tier 1 core covers water purification tablets, a Mora Companion Heavy Duty Knife, a flashlight, a whistle, and a first-aid pouch.
- Spend the $25 Tier 3 upgrade layer only after Tier 1 and Tier 2 are complete.
- Plan for one gallon of water per person per day for a three-day minimum.
- Inspect your first-aid kit twice a year and replace anything past its date.
Table of Contents
- What Budget Survival Gear Actually Costs
- How to Build an Emergency Kit on a Budget
- Water and Food: The Non-Negotiables
- Shelter, Warmth, and Fire on a Tight Budget
- First-Aid and Medical Supplies That Earn Their Space
- Tools, Light, and Cutting Gear Under $20
- Your Home Emergency Kit Checklist
- Car Emergency Kit Essentials for the Road
- Frequently Asked Questions
What Budget Survival Gear Actually Costs
A basic 72-hour emergency kit for a family typically runs $100 to $150, according to SafetyKitsPlus's family kit checklist. But that number hides the real story. At Camp Cave Forest Supply, we think the smarter question is not what a kit costs, but what each dollar inside it buys you. Budget survival gear for emergency kits breaks into two paths: buy a preassembled kit, or build one item by item. The second path almost always stretches further.
The Three-Day Baseline
A 72-hour disaster kit is designed to sustain one person for three days, per Dragoon Unlimited's 2026 preparedness guide. That is the floor every home emergency kit should hit. Three days of water, food, warmth, and light. Anything beyond that is a bonus, not a starting requirement.
Where the Money Goes
The trap is buying a $150 preassembled kit and assuming it covers everything. Most do not. A SafeHome survey on emergency preparedness found that most Americans' emergency kits are missing critical items. Building your own lets you see every gap before an emergency finds it for you.
How to Build an Emergency Kit on a Budget
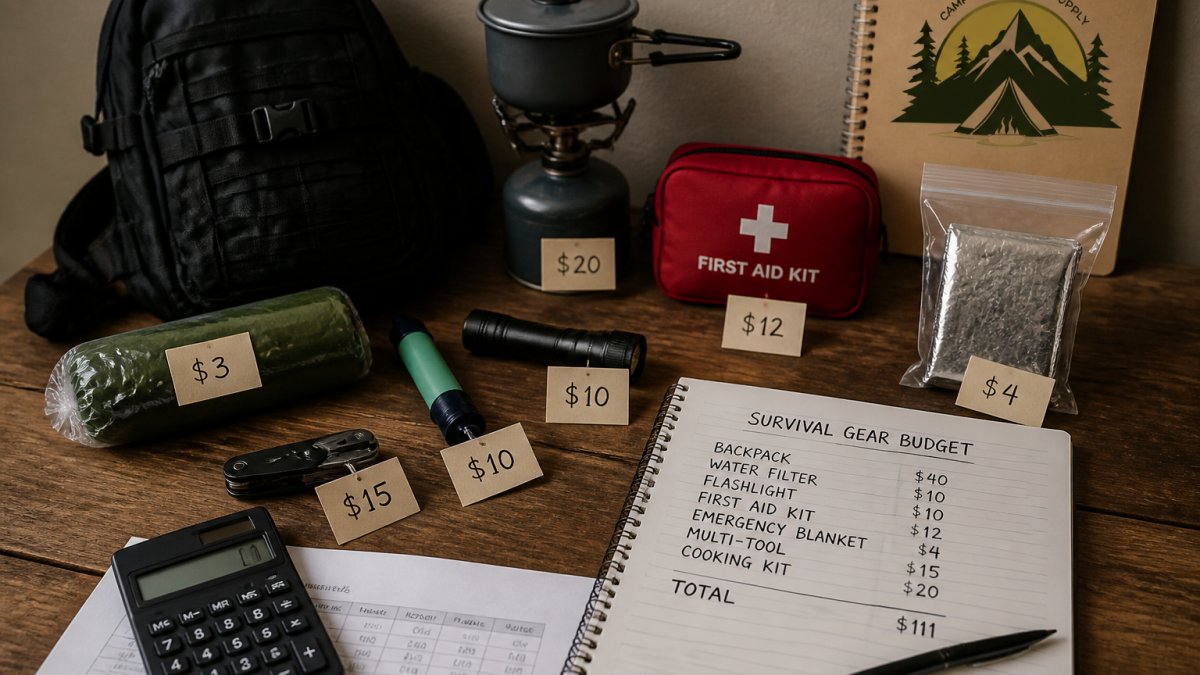
Building an emergency kit on a budget means buying in tiers, starting with the essentials that keep you alive and adding comfort items as money allows. The mistake most people make is buying a preassembled kit first and discovering the gaps later. Build the core yourself, then decide whether a preassembled option fills the rest.
Tier 1: The $40 Core (Must-Haves Only)
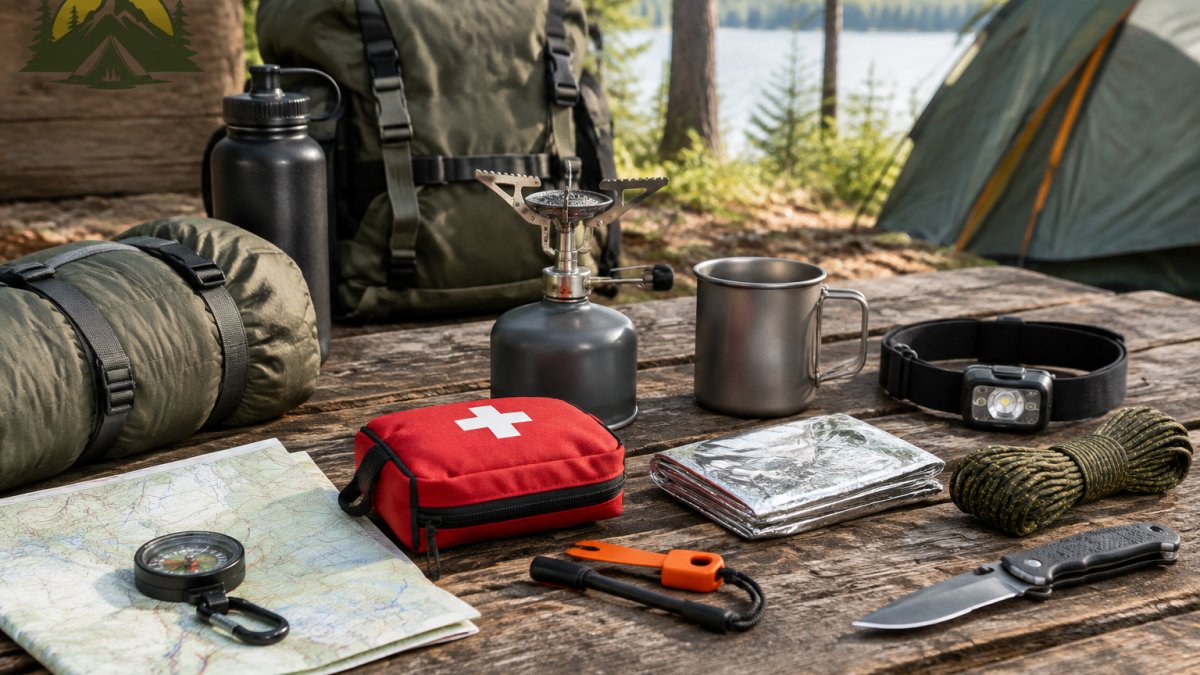
Start with the items you cannot improvise. A survival-gear roundup from Military Machine's 2026 kit review lists water tablets starting at $9, and one budget wilderness bundle names the Mora Companion Heavy Duty Knife at roughly $14. Add a flashlight, a whistle, and a basic first-aid pouch to complete a single-person core kit.
Here is how that $40 breaks down for one person:
| Item | Typical Price | Function Covered |
|---|---|---|
| Water purification tablets (50-count) | $9-$12 | Drinking water |
| Mora Companion Heavy Duty Knife | $14-$18 | Cutting, shelter, repairs |
| LED flashlight (AA) | $8-$12 | Light and signaling |
| Emergency whistle | $3-$5 | Signaling |
| Compact first-aid pouch | $8-$15 | Wound care |
Prices vary by retailer and season, so treat these as planning figures, not quotes. The point is the ratio: roughly a quarter of the core budget goes to water, a quarter to cutting, and the rest to light, signaling, and basic medical care.
Tier 2: The $100 Family Build (Scaling Up)
Scale the core up for a household. Duplicate water and food, add a larger first-aid kit, and include a shelter layer. If you would rather start from a complete option, our 1 Person Essential Survival Kit, Rolling Bag includes food and water with a 5-year shelf life built for 72 hours.
Tier 3: The $25 Upgrade Layer (Comfort and Redundancy)
Once the core and family build are covered, spend the next $25 on items that turn a survivable kit into a livable one: a second light source, a fire starter, a folding shovel, and a spare set of batteries. These are upgrades, not essentials. Buy them only after Tier 1 and Tier 2 are complete.
Quality and Safety Checks for Low-Cost Gear
Low price is not the only criterion. Before you buy, check four things:
- Expiration dates. Water purification tablets and emergency food bars carry shelf lives. Check the manufacture and expiration dates before you buy.
- Water-treatment claims. A filter straw should state the pore size or the contaminants it removes. If a listing only says "filters water" without specifics, treat it as a gamble.
- Safety certifications. Check that first-aid kits and knives list their contents and materials clearly.
- Durability signals. Sealed pouches, double-stitched bags, and metal (not plastic) whistle bodies are cheap indicators of gear that will survive storage.
Watch out: a $9 water tablet bottle that expired two years ago is worse than no tablets at all, because it gives you false confidence. Check dates at the register, not after the emergency.
Water and Food: The Non-Negotiables
Water and food are where budget kits succeed or fail. Plan for one gallon of water per person per day, and plan storage in advance.
Emergency Water Storage Without the Markup
Retail bottled water is the expensive route. Pre-portioned pouches cost less per serving and store flat. Our emergency water pouches, case of 64 provide sealed water servings for storage. Our cherry-flavored emergency food bars, pack of 6 are available for your emergency food storage.
Shelter, Warmth, and Fire on a Tight Budget
Warmth is the cheapest layer to get right and the easiest to skip. Mylar thermal blankets are a practical option for warmth in an emergency. Our 20-pack of Mylar thermal blankets is available for household storage. Add a simple fire starter and a folded emergency blanket to each car kit, and you have handled the exposure risk that catches most people off guard.
First-Aid and Medical Supplies That Earn Their Space
A first-aid kit earns its place by covering wounds and burns, not by being large. Build around sterile gloves, sterile dressings, antibiotic ointment, and burn ointment. A dedicated medical kit, like the My Medic Recon Emergency Medical Kit listed at $50 in a HiConsumption survival-kit comparison, makes sense for households with medical needs. For everyone else, a compact pouch with the four items above handles most household injuries without eating your budget.
What a Budget First-Aid Pouch Should Actually Contain
Most low-cost pouches are padded with bandage strips and short on the items that matter. Check the contents list before buying, and confirm it includes:
- Nitrile gloves (at least two pairs)
- Sterile gauze pads in two sizes
- Adhesive tape and rolled bandage
- Antibiotic ointment
- Burn ointment
- Antiseptic wipes
- Tweezers and a small scissors
- A CPR face shield
Matching the Kit to the Household
A generic kit serves a generic household. Adjust for yours:
- One person: the compact pouch above is enough.
- Families with young children: add children's fever reducer, a digital thermometer, and child-size bandages.
- Households with pets: add a pet-specific pouch with gauze, tape, and a muzzle, and keep a copy of vaccination records with the kit.
- Households with medical needs: a dedicated kit like the Recon makes sense, and so does a seven-day supply of prescription medication rotated on a set schedule.
- Vehicles: a smaller pouch with gloves, gauze, and a thermal blanket covers roadside injuries until help arrives.
Rotation and Replacement
First-aid supplies expire, and a kit you have not opened in two years is a kit you cannot trust. Inspect it twice a year, replace anything past its date, and restock items you used. A common pattern is to check the kit when you change smoke-alarm batteries, so the two tasks share a calendar reminder.
Tools, Light, and Cutting Gear Under $20
Tools are where budget gear gets fun, and where discipline pays off. You need light, a cutting tool, and something that multiplies your hands. A multitool pocket knife covers cutting, screwing, and opening in one item. Our 15-in-1 stainless steel multitool fits that role. Add a hand-crank or battery flashlight, spare batteries, and a whistle. A survival bracelet or folding shovel is a nice extra, not a must-have. Buy the basics first.
| Item | Typical Budget | Why It Matters |
|---|---|---|
| Water pouches or tablets | $9-$20 | Three days of drinking water |
| Emergency food bars | $10-$25 | Calories without extra water |
| Mylar thermal blankets | $10-$20 | Warmth and shelter |
| First-aid pouch | $15-$30 | Wound and burn care |
| Multitool or knife | $14-$20 | Cutting and repairs |
| Flashlight and batteries | $10-$20 | Light and signaling |
Your Home Emergency Kit Checklist
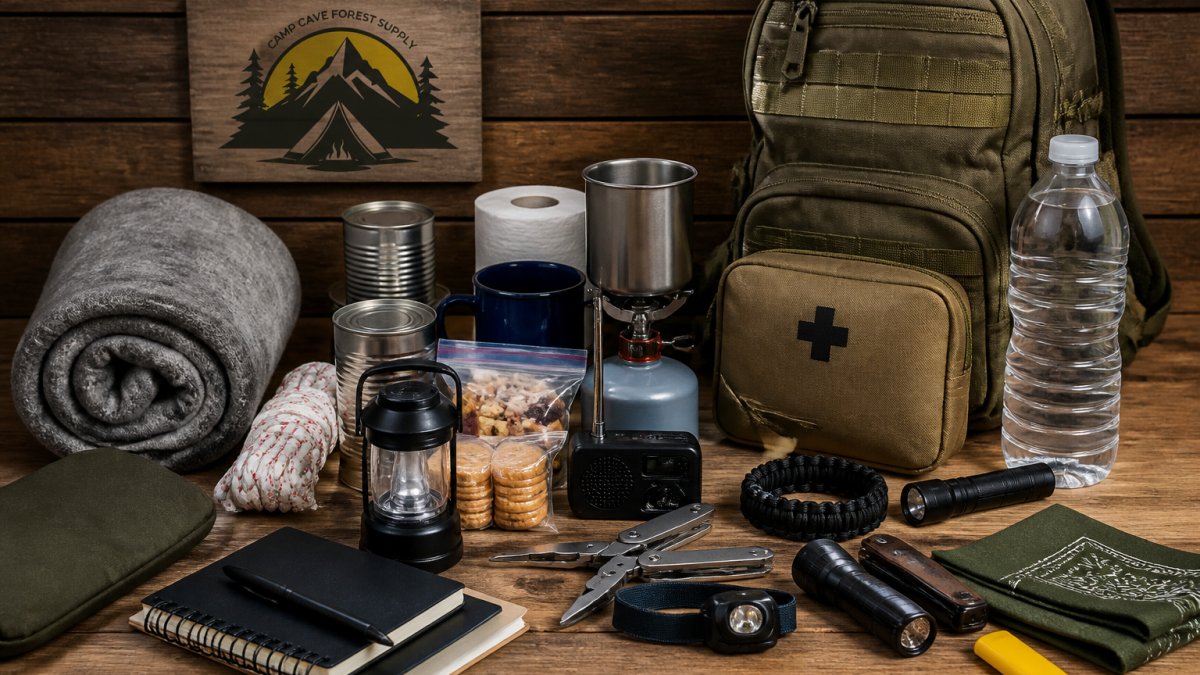
A home emergency kit checklist should cover water, food, warmth, first aid, light, tools, and hygiene in one place. Use this as your build list:
- One gallon of water per person per day, three days minimum
- Nonperishable food and a manual can opener
- Mylar blankets and a change of older clothes
- First-aid pouch with gloves, dressings, and ointments
- Flashlight, batteries, and a whistle
- Multitool or knife
- Toilet paper, soap, and sanitation bags
- Backup prescription glasses and medications
- Copies of important documents in a waterproof bag
Reusing an old backpack or tote for supplies is a practical, low-cost option. Check your kit twice a year and replace expired food and batteries on a set schedule.
Car Emergency Kit Essentials for the Road
Car emergency kit essentials differ from home kits because help is farther away and weather is harsher. Consider keeping a thermal blanket, a flashlight, water pouches, a first-aid pouch, and a multitool in the trunk. Add a phone charger and a folding shovel for winter. Rotate the water and batteries each season.
Frequently Asked Questions
What should I put in an emergency kit on a budget?
Start with water, food, and a first-aid kit, then add light, warmth, and a cutting tool. A basic family 72-hour kit can be assembled for a range of budgets, depending on contents and where you buy. You can keep costs down by reusing an old backpack, buying nonperishable food in bulk, and adding low-cost individual items. Prioritize the items that keep you alive and safe for three days before adding comfort gear.
How can I build an emergency kit for under $100?
Build in tiers. Start with the core: water treatment, a flashlight, a first-aid kit, an emergency blanket, and a multi-tool. Reusing an old backpack or tote bag instead of buying a new one is a practical, low-cost option. Add nonperishable food in bulk. You can expand the kit over time as your budget allows.
Are inexpensive survival kits worth buying?
Sometimes. A preassembled kit saves time, but the contents vary widely and the supplied research does not verify what most kits include. Some budget-friendly survival kits are available, and dedicated medical kits are an option for households with medical needs. Check the contents list against a home emergency kit checklist before buying, and plan to add water, food, and any medications your household needs.
How much water should I store for an emergency?
Plan on one gallon per person per day for drinking and basic hygiene. Emergency water storage can be as simple as commercially bottled water or food-grade containers filled from the tap. Add a personal water filter straw as a backup for treating found water,
How often should I check and replace emergency kit supplies?
Check your kit every six months. Replace expired food and medications, test flashlights and batteries, and confirm water stores are sealed and in date. Swap out clothing as children grow. Replace items you have used from the kit immediately so it stays complete. A simple calendar reminder in spring and fall keeps the kit ready without a major overhaul, and it costs nothing to maintain.
The hardest part of preparedness is starting, and most people wait until an emergency is already here. We built Camp Cave Forest Supply to make that first step simple, with curated survival gear at affordable prices and a shopping experience that respects your time. Our team answers real questions before you buy, and every item we stock is chosen for reliability in the field. Get started with Camp Cave Forest Supply and build a kit you can actually trust.