 Listicle
Essential Survival Gear for Beginners: What to Buy First
Last Updated: November 10, 2026
Quick Summary
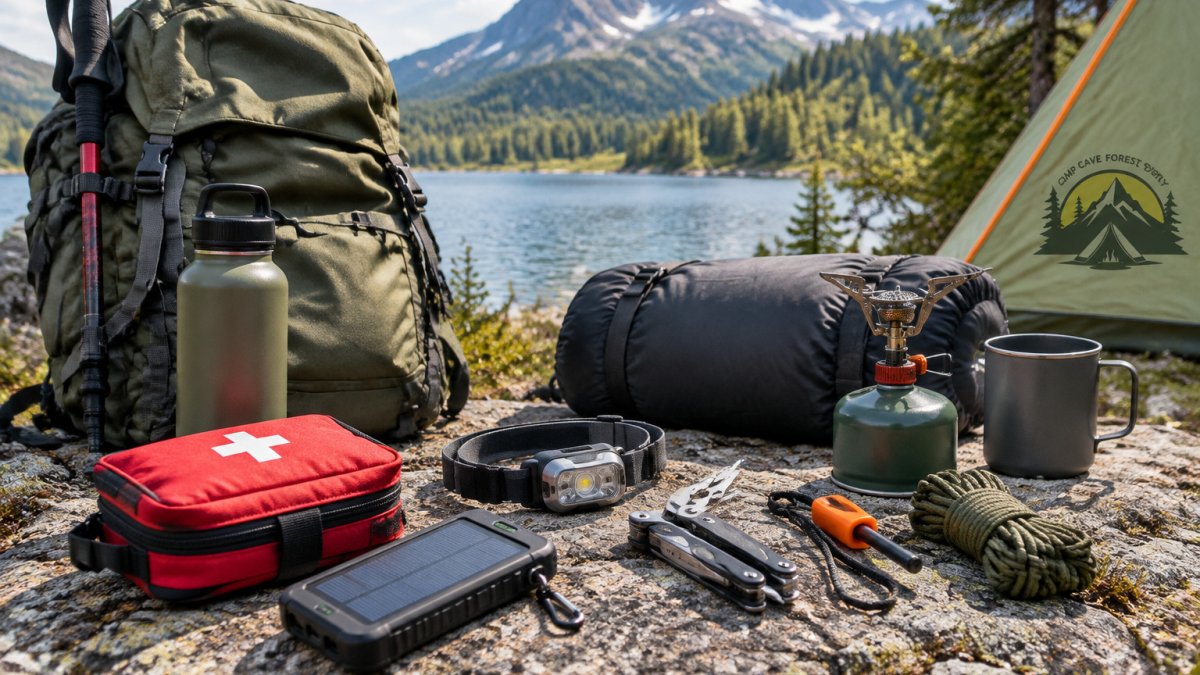
Survival gear for beginners should cover water, shelter and warmth, fire, tools, navigation and first aid. Start with water treatment, a basic emergency shelter, an emergency blanket, a first-aid kit, and a map and compass before buying anything else.
- Carry at least two liters of water per person on a day hike, plus a way to treat more.
- A water filter plus a backup pack of chlorine dioxide tablets is a practical beginner setup.
- Most heat loss in a survival situation comes from cold ground, so insulate beneath you.
- Pack two independent fire options, such as a fire starter kit and waterproof matches.
- Keep a bug-out bag at roughly 10 to 20 percent of your body weight for walking.
Table of Contents
- What Survival Gear Actually Covers for a Beginner
- Quick Comparison: Core Gear Categories at a Glance
- Water, Shelter, and Warmth: The Non-Negotiables
- Fire, Tools, and Cordage: Building Your First Kit
- Navigation, Signaling, and First Aid
- Building a Budget Survival Gear Setup in Tiers
- Packing a Bug-Out Bag: Weight, Organization, and Essentials
- Keeping Your Kit Ready: Maintenance and Replacement Schedule
- Frequently Asked Questions
What Survival Gear Actually Covers for a Beginner
Survival gear for beginners is any equipment that keeps you safe, warm, hydrated and oriented when something goes wrong outdoors. For most new hikers, that means a short list of items covering water, shelter, fire, navigation, first aid and tools. The list can start small and grow over time.
Many beginners buy a large pre-packed kit and never open half of it. Understand the categories first, then decide what to buy now and what can wait.
The core categories are:
- Water: treatment and storage, since dehydration becomes a problem faster than most people expect
- Shelter and warmth: protection from wind, rain and cold, especially after dark
- Fire: a reliable way to heat water, dry out and signal
- Tools and cordage: cutting, repairing and securing gear
- Navigation and signaling: knowing where you are and getting noticed
- First aid: treating cuts, blisters and minor injuries before they worsen
Survival guides from outdoor publications repeat much of this list, so it is a reasonable baseline. Keep the purpose of each item in mind as you shop.
Quick Comparison: Core Gear Categories at a Glance
Use this table to see what each category covers and where beginners should start.
| Category | Main Job | Beginner Priority | Example Items |
|---|---|---|---|
| Water | Treat and carry drinking water | Highest | Water filtration system, bottles |
| Shelter and warmth | Protect from weather | Highest | Emergency shelter, emergency blanket |
| Fire | Heat, dry out, signal | High | Waterproof matches, fire starter kit |
| Tools and cordage | Cut, repair, secure | Medium | Schrade SCAXE2 hatchet, 550 paracord |
| Navigation and signaling | Find your way, get noticed | Medium | Map, compass, GPS or satellite messenger |
| First aid | Treat injuries | High | First-aid kit |
Start with water and shelter. Add fire and first aid next. Tools, navigation and cordage can follow once the essentials are covered.
Water, Shelter, and Warmth: The Non-Negotiables
Water, shelter, and warmth come first because dehydration and exposure can turn a minor problem into an emergency within hours. Budget for these three before anything else.
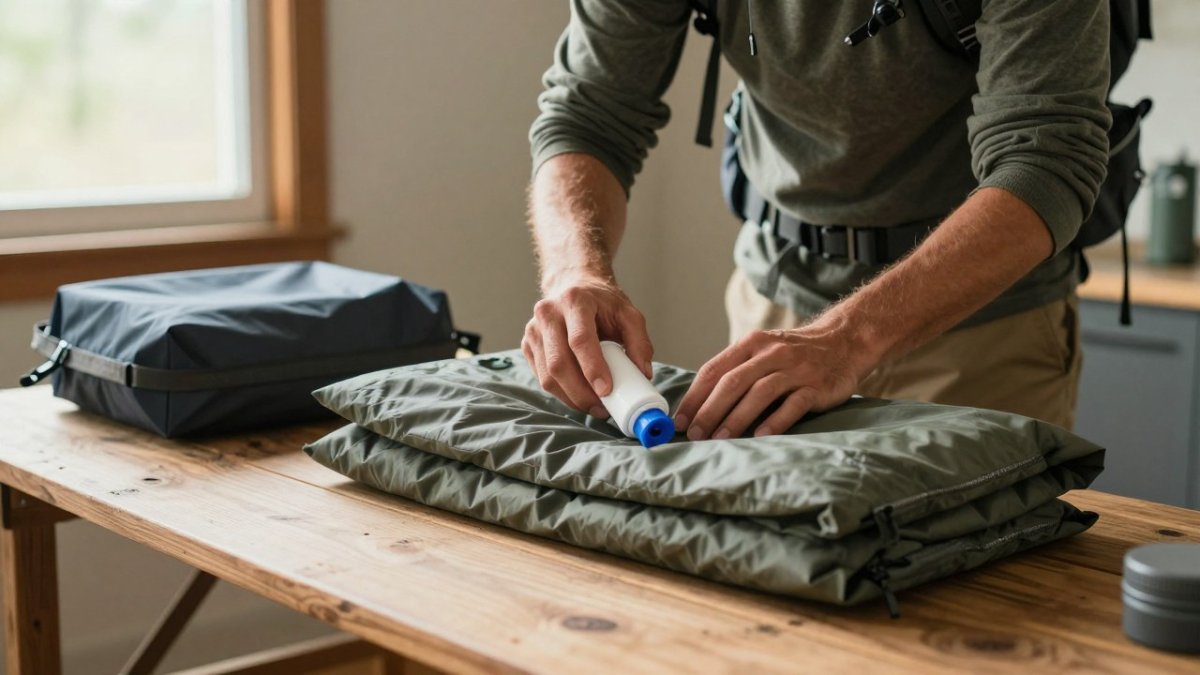
Water: How Much to Carry and How to Treat It
Treatment options fall into three families, and each has limits:
- Filters (hollow-fiber or pump styles) remove bacteria and protozoa but generally not viruses, and they clog in silty water. They are the best everyday choice for streams and lakes in North America.
- Chemical tablets (chlorine dioxide is the most common) kill bacteria, viruses, and protozoa but need contact time and they can leave a taste.
- Boiling is the most reliable method for pathogens at any elevation, but it requires fuel and a pot, and it does nothing for chemical contamination or sediment.
A practical beginner setup is a filter plus a small pack of tablets as backup. Pre-filter cloudy water through a bandana or coffee filter first, because sediment defeats filters and shields pathogens from chemicals.
Watch out: no method removes every possible contaminant. Filters and tablets do not address agricultural runoff or heavy metals, so treat water from questionable sources as a last resort and carry your own supply when you can.
Shelter: Blocking Wind, Rain, and Ground Chill
An emergency shelter does the most work for the least weight. A basic emergency tube tent or tarp can block wind and rain, and it weighs a few ounces.
Shelter is only half the job.
Test your shelter at home before you need it. A shelter you have never set up takes far longer to pitch in the rain, and a tarp without practiced knots or stakes is just a sheet of plastic.
Warmth: Layering and Dry Clothing
Warmth comes from insulation and staying dry, not a single miracle item. Layer a moisture-wicking base, an insulating mid layer such as fleece or a puffy jacket, and a wind- and water-resistant shell. Cotton holds moisture against your skin and is a poor survival layer. Pack spare socks and a dry hat, since wet feet and an uncovered head accelerate heat loss.
An emergency blanket or a lightweight bivy adds a final layer when you are stationary. The goal is to stay dry first and insulated second; a wet insulating layer loses most of its value.
Fire, Tools, and Cordage: Building Your First Kit
Fire gives you warmth, boiled water and a way to dry wet clothing. For a first kit, pack two independent fire options. A fire starter kit and a set of waterproof matches cover most situations.
Tools make the rest of your kit work. A small hatchet, such as the Schrade SCAXE2, is useful for cutting kindling and carving wood for shelter tasks. Handle it carefully and practice at home first.
Cordage holds everything together. A length of 550 paracord, such as Atwood Rope's version, can secure a tarp, hang gear or replace a broken strap.
Navigation, Signaling, and First Aid
Navigation tools keep you from getting lost, and signaling tools help rescuers find you.
A wrist watch compass is compact for quick direction checks, though a full baseplate compass is easier to use with a map. Learn to take a bearing before relying on either.
First aid is the last essential category. A first-aid kit should treat cuts, blisters, burns and minor sprains.
Bear spray is worth considering in areas where bears live. It serves as a deterrent rather than a general safety tool. Research local wildlife rules before you buy and carry it.
Building a Budget Survival Gear Setup in Tiers
You do not need to buy everything at once. A tiered approach spreads the cost and puts your money first on what matters most.
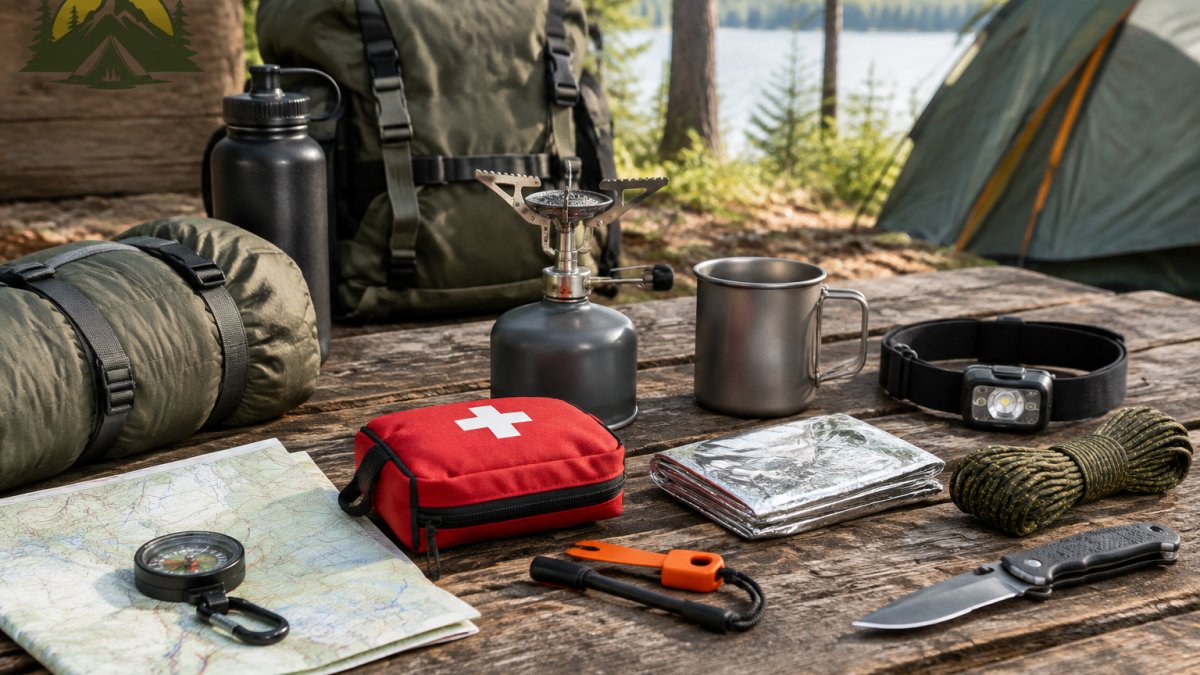
- Tier 1 (essentials): water treatment, a basic shelter, an emergency blanket, a first-aid kit, and a map and compass
- Tier 2 (fire and tools): a fire starter kit, waterproof matches, a small hatchet, and 550 paracord
- Tier 3 (extras): a satellite messenger, bear spray where relevant, and extra cordage and repair items
Many beginners find Tier 1 covers their first several outings. Upgrade only when you know which gaps your trips expose. For more options at each price level, see our related guide on budget emergency kits.
Pricing depends on the product and quantity, so check our website for current prices or request a quote before you buy. Our team can help you choose items that fit your budget.
Packing a Bug-Out Bag: Weight, Organization, and Essentials
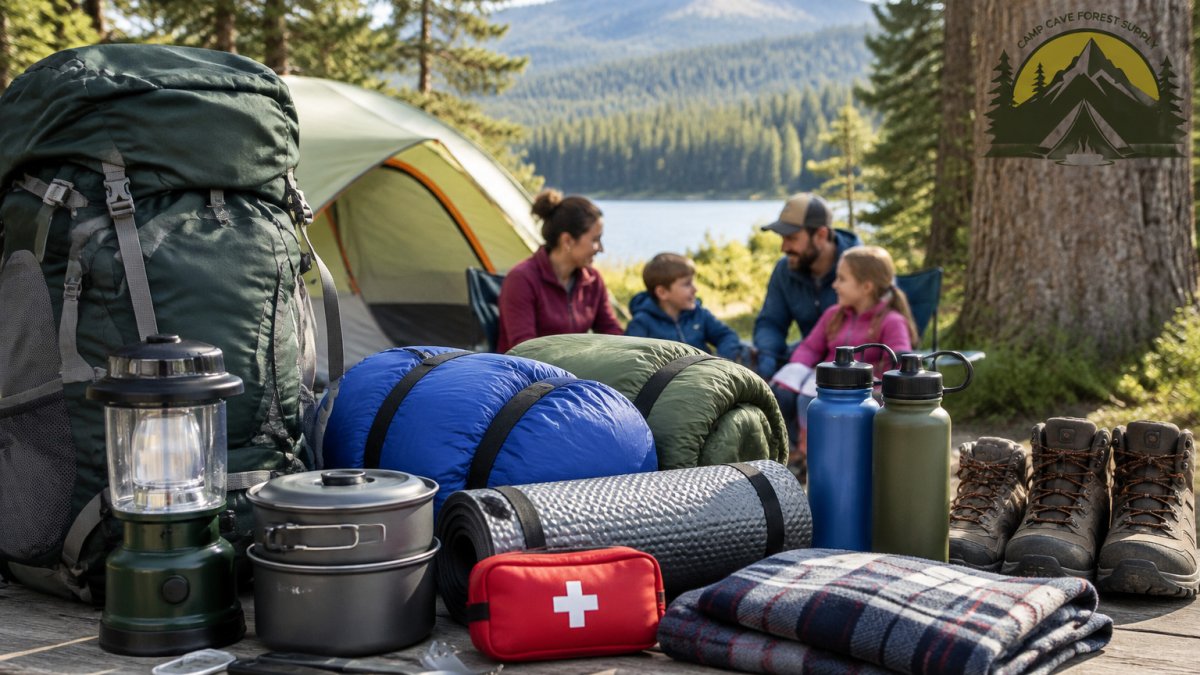
A bug-out bag holds the gear you need to get home or stay safe for at least 72 hours. For beginners, the main challenge is weight and fit: a bag that is too heavy gets left behind, and one built for the wrong scenario carries items you will never use.
Start With a Weight Budget
A common guideline is to keep a pack at roughly 10 to 20 percent of your body weight for walking; a vehicle or home kit can be heavier because you are not carrying it far. Weigh your bag on a luggage scale before each season. If you cannot walk a mile with it comfortably, it is too heavy for evacuation use.
Match the Kit to the Scenario
One kit does not fit every situation. Build around the scenario you are most likely to face:
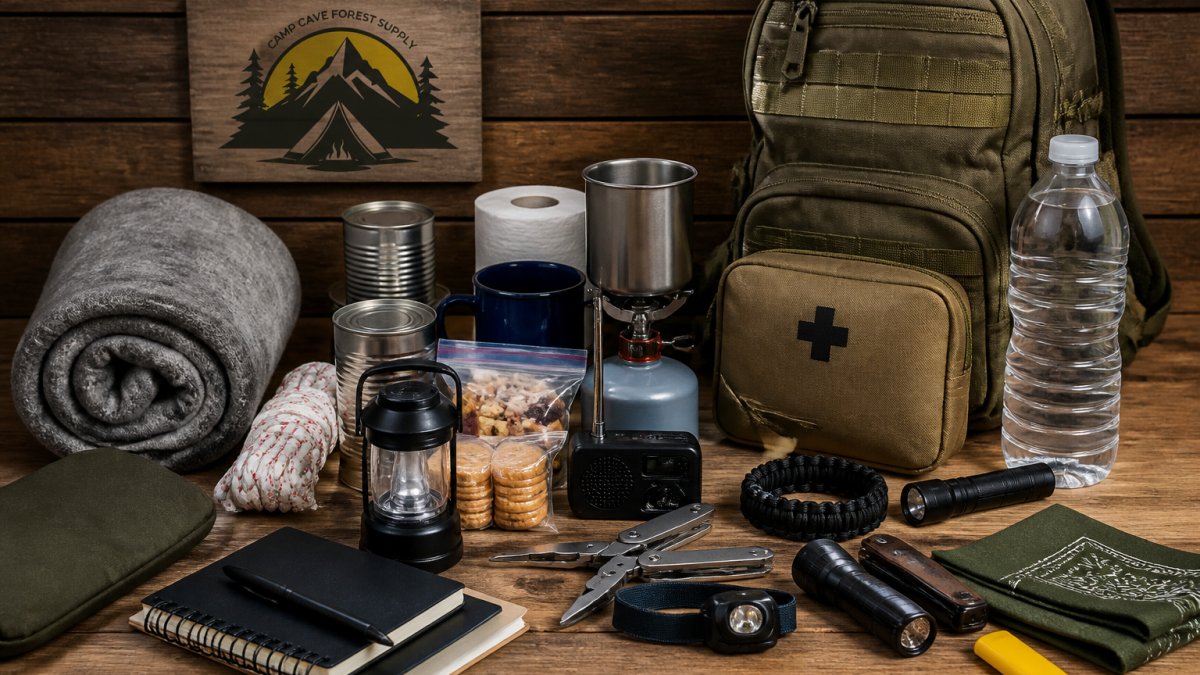
- Home emergency (power outage, storm, shelter-in-place): three gallons of water per person, shelf-stable food and a manual can opener, a battery or hand-crank radio, flashlights, a first-aid kit, medications, and copies of important documents. Weight matters less here, so store supplies in a closet or garage rather than a pack.
- Vehicle breakdown or winter travel: a blanket or sleeping bag, warm layers, a shovel, traction aids, jumper cables, a flashlight, water, snacks, and a phone charger. Cold-weather kits should include a way to stay warm if you are stranded overnight.
- Day hike: the lighter kit from the earlier sections, plus a map and compass, a headlamp, and a way to signal.
- Evacuation: a pack you can carry, with water, food, medications, documents, cash in small bills, a phone charger, and a change of clothes. Keep it by the door and review it each season.
A common pattern is to keep a small everyday carry, a vehicle kit, and a home kit that share the same core categories but differ in quantity and weight. That way you are never rebuilding from scratch.
Organize by Access Speed
Organize by how fast you need each item. Keep fire, first aid, and water treatment in the top or outer pockets, shelter and warmth in the main compartment, and navigation where you can reach it without unpacking. Use dry bags for anything that must stay dry, including matches, documents, and batteries, and keep a written inventory list inside the lid.
Watch out: a bag packed once and never opened is a bag you cannot trust. Unpack it, use the items, and repack it at least twice a year so you know where everything lives and what is missing.
Safety and Legal Considerations
Some of the most useful survival items are also the most regulated. Knives and hatchets may be restricted by length, blade type, and carry method, and rules can differ by location. Fire-starting tools and open flames are often restricted during fire restrictions, and bear spray is regulated or prohibited in some areas.
Before you buy or carry a knife, hatchet, or bear spray, check the rules for the places you actually go, including public land agency regulations. Store fire tools and fuels away from children and heat sources, and practice with any cutting tool before you rely on it.
Keeping Your Kit Ready: Maintenance and Replacement Schedule
Survival gear only works if it is in good condition when you need it. Set a routine to inspect your kit every few months.
Check these items on a regular schedule:
- First-aid supplies: replace expired medications and bandages that are damaged or opened
- Water treatment: follow the manufacturer's cleaning and replacement guidance for filters
- Fire starters and matches: test them and replace any that are damp or worn
- Cordage and shelter: look for fraying, mildew, tears and loose stitching
- Batteries: check any electronic devices and replace batteries on a set date
Review your kit at the start of each season, and after any trip where you used something. Replace what is worn, and update the list as your skills and trip plans change.
A kit you maintain is a kit you can trust. If you have questions about any item in this guide, reach out to the Camp Cave Forest Supply team and we will help you decide what fits your next trip.
Frequently Asked Questions
What survival gear should a beginner have?
A beginner should start with the basics: a way to treat water, a shelter or emergency blanket, a fire source such as waterproof matches or a lighter, a basic first-aid kit, a headlamp, a knife or multi-tool, cordage such as 550 paracord, and a map and compass. Those items cover the most common survival needs. Add a navigation backup and signaling tool once the core list is in place. Buy quality for water and shelter first, since those matter most in the first hours of an emergency.
What are the 10 essentials for survival?
The widely cited ten essentials cover navigation, sun protection, insulation, illumination, first aid, fire, repair tools, nutrition, hydration, and emergency shelter. Many beginners use this list as a starting checklist. Adapt it to your trip length and climate, and check each item before every outing so the kit reflects current conditions rather than a list from years ago.
How do I build a survival kit on a budget?
Start with the items that protect life first: water treatment, a shelter, fire starting, and first aid. Buy those before upgrades like premium knives or specialty electronics. Cordage, a basic map and compass, and a flashlight with spare batteries are low-cost additions with high value. Build the kit in tiers over several paydays rather than buying everything at once, and check Camp Cave Forest Supply's website for current prices.