 How-to
How Do You Keep Camping Gear From Getting Damaged?
Last Updated: November 17, 2026
Quick Summary
Most camping gear damage starts at home, so the key is cleaning, fully drying, and storing gear properly before it goes away. Rinse off dirt and salt, air-dry everything completely, and store items loose in a cool, dry place away from sunlight. Inspect gear again before each new season.
- Rinse off dirt, sweat, and salt before storing gear, not just before the next trip.
- Air-dry tents, sleeping bags, and pads completely, since gear can hold moisture in seams and lining.
- Store sleeping bags uncompressed in a large cotton or mesh sack, never in a tight stuff sack.
- Pull everything out a few weeks before your first trip and inspect it for problems.
- Small tears grow, so patch them early with fabric patches or tenacious tape.
Table of Contents
- Step 1: Clean Your Gear Before You Store It
- Step 2: Dry Everything Completely Before It Goes Away
- Step 3: Store Gear in a Cool, Dry Place Away From Sunlight
- Protecting Gear in the Field: Preventing Damage While You Camp
- Camping Gear Maintenance Checklist
- How to Repair Camping Gear Before Small Damage Becomes Failure
- Your Next Step: Inspect Your Gear Before the Next Trip
- Frequently Asked Questions
Most gear failures start at home, not on the trail. That is the uncomfortable truth behind a lot of camping gear damage, from ruined tents to cracked sleeping pads. This guide covers how to avoid damaged camping gear, starting with the habits that wear it down long before you pack the car.
A Backpacker Magazine's 2026 breakdown of common gear failures lists five problems that show up again and again: leaky sleeping pads, holes in puffy jackets, snapped tent poles, broken zippers, and delamination. Many of these trace back to storage and care, not to the trip itself.
Here is what usually goes wrong at home:
- Wet tents stuffed into storage bins and forgotten
- Sleeping bags kept compressed for months
- Boots left dirty after the last hike
- Sleeping pads inflated by mouth, which adds moisture and bacteria
That last one surprises people. A My Life Outdoors video on gear-wrecking mistakes points to mouth inflation as a common cause of moisture damage and mold inside the pad.
Watch out: Storing anything damp, even for a few days, is one of the fastest ways to start mildew. Dry it first, every time.
Step 1: Clean Your Gear Before You Store It
Dirt, sweat, and salt slowly break down technical fabrics, and that kind of camping gear damage builds up over time. Clean gear before it goes into storage, not just before the next trip.
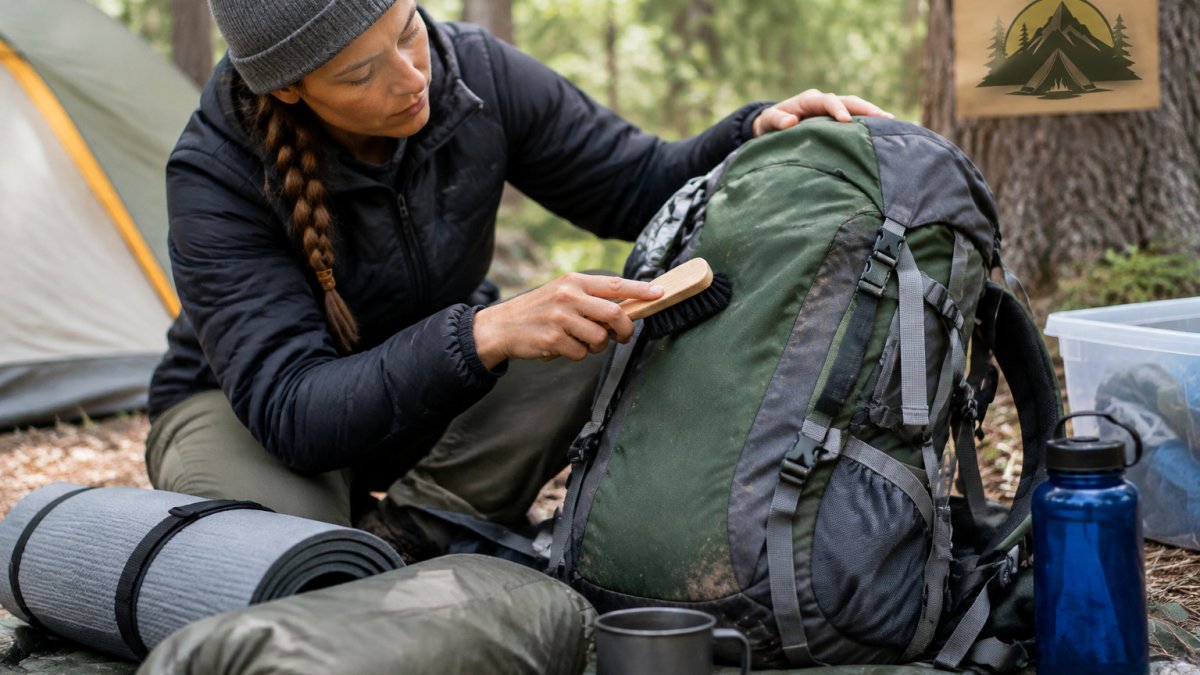
Rinse tents, tarps, and packs with plain water and a soft brush. For technical jackets and sleeping bags, use a cleaner made for outdoor fabrics. Household detergents often leave residues that damage waterproof coatings.
Clean boots carefully. Knock off dried mud, rinse the soles, and let them air out. A Washington Trails Association guide to maintaining hiking gear stresses that durable water repellency coatings wear down when fabric stays dirty.
Step 2: Dry Everything Completely Before It Goes Away
Drying is where most people cut corners. Gear that feels dry on the outside can still hold moisture in the seams and lining.
Air-dry items fully in a shaded, ventilated spot. Open zippers and unfold tents so no fabric bunches up. Give sleeping bags a full day or longer.
Checklist before storage:
- Tent fabric dry on both sides
- Sleeping bag fluffed and fully dry
- Sleeping pad dry inside and out
- Boots dry inside the lining
- Packs free of trapped moisture
Step 3: Store Gear in a Cool, Dry Place Away From Sunlight
Heat, humidity, and UV light all shorten gear life. A Mountain Equipment Recyclers maintenance guide recommends a cool, dry spot away from direct sunlight. That is the short version. The long version is where most long-term damage actually happens, because the mistakes compound over months rather than days.
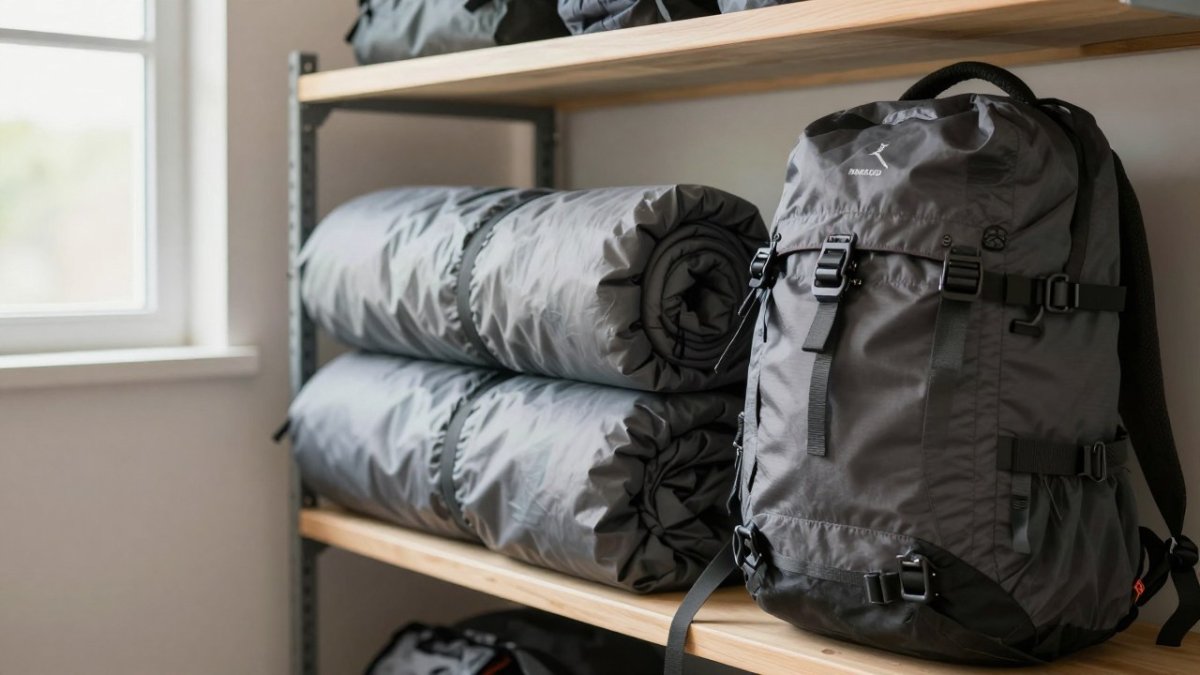
Match the container to the item. Tents and tarps go loosely into breathable mesh or cotton stuff sacks, never cinched tight in a plastic bin that traps residual moisture. Sleeping bags go uncompressed into a large cotton or mesh storage sack; a stuff sack is for the trail, not the closet. Sleeping pads stay flat or loosely rolled with the valve open so any trapped air and moisture can escape. Backpacks hang or stand empty with straps loosened so foam and webbing do not take a permanent set.
Separate the risky categories. Fuel canisters and white gas bottles belong in a ventilated space away from tents, sleeping bags, and anything that absorbs odor, and never in a sealed bin with gear. Batteries come out of headlamps, lanterns, and GPS units before storage; a leaking alkaline cell can corrode a contact block beyond repair in a single season. Electronics go in a dry bag with a desiccant packet, not loose on a shelf where humidity swings.
Avoid the four seasonal mistakes.
- Compression: leaving a down bag or synthetic quilt compressed for months breaks loft and is hard to recover.
- Moisture: storing anything even slightly damp, then sealing the bin, invites mildew that stains fabric permanently.
- Pests: mice and insects chew through mesh, cord, and foam; store bags and pads in a sealed tote or hang them, and skip cardboard boxes in garages.
- Sunlight: a shelf by a window fades coatings and weakens UV-sensitive fabrics over a season.
Check before the next season, not after. Pull everything out a few weeks before your first trip. Unfold tents and inspect seams and pole shock cord, fluff sleeping bags and check for clumping, inflate pads and leave them overnight to catch slow leaks, and test headlamps with fresh batteries. Catching a stiff zipper or a delaminating seam at home is far cheaper than discovering it at camp.
Protecting Gear in the Field: Preventing Damage While You Camp
Damage does not stop when you leave the house. Simple habits on the trail protect your investment.
Set up a tarp to shelter tents and packs from rain and dew. A Counter Assault hiking survival kit guide recommends carrying cordage or tape to secure broken items before they fail completely.
Useful field gear includes:
- A Lightweight Waterproof Camp Tarp with Bug Net for shelter and insect protection
- A 10L/20L/40L waterproof dry bag to keep electronics and clothing dry
- A foldable camping shovel for clearing debris and digging drainage trenches
For shade during hot days, a 2-in-1 portable beach shelter umbrella with UPF 50+ protection keeps sun off gear and people alike.
Camping Gear Maintenance Checklist
Use this list after every trip and again before storing gear for the season:
- Rinse off dirt, salt, and sand
- Air-dry tents, bags, and pads completely
- Inspect seams, zippers, and poles for wear
- Check DWR coatings and reapply when water stops beading
- Store gear loose, cool, and dry
- Keep batteries out of extreme heat
The article's checklist boils down to a short routine to run after every trip and again before storing gear.
| Step | Action | When |
|---|---|---|
| 1 | Rinse off dirt, salt, and sand | After every trip |
| 2 | Air-dry tents, bags, and pads completely | After every trip |
| 3 | Inspect seams, zippers, and poles for wear | After every trip |
| 4 | Check DWR coatings and reapply when water stops beading | When water stops beading |
| 5 | Store gear loose, cool, and dry | Before storage |
| 6 | Keep batteries out of extreme heat | Before storage |
How to Repair Camping Gear Before Small Damage Becomes Failure
Small tears grow. Catching them early saves money and gear. Most field repairs take under ten minutes and a few dollars of supplies, and they buy you time until you can do a proper fix at home.
Build a small repair kit. A patch kit for the tent fabric, a length of tenacious tape, a spare zipper slider, a few feet of shock cord, a pad patch kit, a needle and heavy thread, and a multi-tool cover the failures that actually strand people. Keep it in the pack, not the garage.
Tent tears. Clean and dry the area, then apply a fabric patch or tenacious tape that overlaps the tear by at least half an inch on every side, pressing from the center out to avoid bubbles. For a rip along a seam, a few hand stitches first give the patch something to hold. A tear in the floor is best patched from the inside so the patch is not walked on.
Zippers. A zipper that separates behind the slider usually means the slider has spread; squeeze the slider gently with pliers to close the gap, or replace it with a matching-size slider. A zipper that catches is usually dirty, not broken: brush the teeth and rub paraffin or a zipper lubricant along them. If a pull tab snaps, a small loop of cord through the slider gets you through the trip.
Sleeping pad leaks. Inflate the pad, listen and feel for the leak, or submerge sections in water and watch for bubbles. Mark the spot, clean and dry it, then apply the patch from the pad's kit, pressing firmly and letting it cure per the instructions. A leaking valve is often just loose or gritty; reseat it and clear debris before assuming the pad is done.
Poles and shock cord. A cracked pole section can be splinted with a pole repair sleeve or, in a pinch, a sturdy stick and tape. Stretched shock cord that will not hold sections together is replaceable: tie the new cord to the old, pull it through, and knot at both ends.
Waterproof clothing. A tear in a shell is patched with tenacious tape on both sides. When water stops beading and the fabric looks wet out, wash the garment with a technical cleaner and reapply a spray-on or wash-in durable water repellency treatment made for the membrane; household detergents and fabric softeners can leave residues that block breathability.
Watch out: repairing gear with improvised tape or glue can trap moisture and make the damage worse, and some adhesives attack coatings and foam. Use products made for the specific material, and treat any field fix as temporary until you can do it properly.
Watch for these early warning signs:
- Water soaking through fabric that used to repel it
- Zippers that catch or separate
- Tent poles with cracks or loose shock cord
- Pads that lose air overnight
Your Next Step: Inspect Your Gear Before the Next Trip
Before your next adventure, pull out every item and check it. Look for mildew, loose seams, and dried-out zippers. Clean and dry anything that needs it.
Gear that gets a little attention at home lasts far longer on the trail.
Frequently Asked Questions
How do you keep camping gear from getting damaged?
Most damage starts at home, not on the trail. Clean gear after every trip, dry it completely, and store it loose in a cool, dry place away from direct sunlight. Avoid storing wet tents in bins, and do not keep sleeping bags compressed for long periods. Inspect zippers, seams and poles before each season, and repair small tears early so they do not spread. Following the manufacturer's care instructions for each item will prevent most common failures.
How do you keep camping gear dry in wet weather?
Pitch tents on high, well-drained ground and use a footprint to keep moisture off the floor. Pack sleeping bags and clothing in dry bags or waterproof liners so they stay dry if a pack gets soaked. If gear gets wet on the trail, dry it at the first opportunity instead of packing it away damp, since trapped moisture leads to mildew. Durable water repellent coatings on rain gear wear off over time, so reapply them periodically to keep fabric from saturating.
What camping gear should never be stored wet?
Tents, rain flys, sleeping bags, down or synthetic insulated jackets, and hiking footwear should never go into storage while damp. Moisture trapped in fabric and insulation encourages mildew and odor and can break down materials over time. Air-dry each item fully, indoors if needed, before storing it. Also avoid mouth-inflating sleeping pads, since breath introduces moisture that can cause internal mold. Use a pump or a sack instead.
How should you pack camping gear to prevent damage?
Keep sleeping bags loosely stored in a large breathable sack rather than compressed in their stuff sacks for long periods, since compression reduces loft. Pack heavy items close to your back and centered in the pack to protect frames and zippers. Use padding or clothing to cushion tent poles and electronics. Store fuel canisters upright and away from living areas, and keep batteries out of extreme heat. Check packing each trip so that sharp or hard items do not rub against fabric.