 How-to
How to Keep a Sleeping Bag Dry in a Tent: 7 Steps
Table of Contents
- Why Your Sleeping Bag Gets Wet (and Why It Matters)
- How to Prevent Condensation in a Tent
- What to Put Under a Sleeping Bag in a Tent
- Managing Body Heat and Sweat Overnight
- Synthetic vs. Down: Moisture Management Differences
- How to Dry a Sleeping Bag While Camping
- Choosing a Waterproof Stuff Sack for Sleeping Bag Storage
- Emergency Fixes for a Wet Sleeping Bag
- Frequently Asked Questions
Last Updated: October 21, 2026
Why Your Sleeping Bag Gets Wet (and Why It Matters)
Your sleeping bag rarely gets soaked by rain. Keeping a sleeping bag dry is mostly about stopping moisture from the inside out.
Your body releases water vapor all night through sweat and breath.
A dry sleeping bag is a warm sleeping bag. That's the whole game.
Three things drive the problem:
- Condensation from trapped vapor inside the tent
- Sweat from overdressing or a too-warm bag
- Ground moisture wicking up from below
Fix all three and your bag stays dry. Miss one and you'll wake up cold.
How to Prevent Condensation in a Tent
Condensation forms when warm, moist air meets a cold surface. The fix is air movement. Give that vapor an escape route before it turns into water.
Ventilation is your single most effective tool. Most campers seal their tent tight to stay warm, then wake up in a puddle. That's backwards.
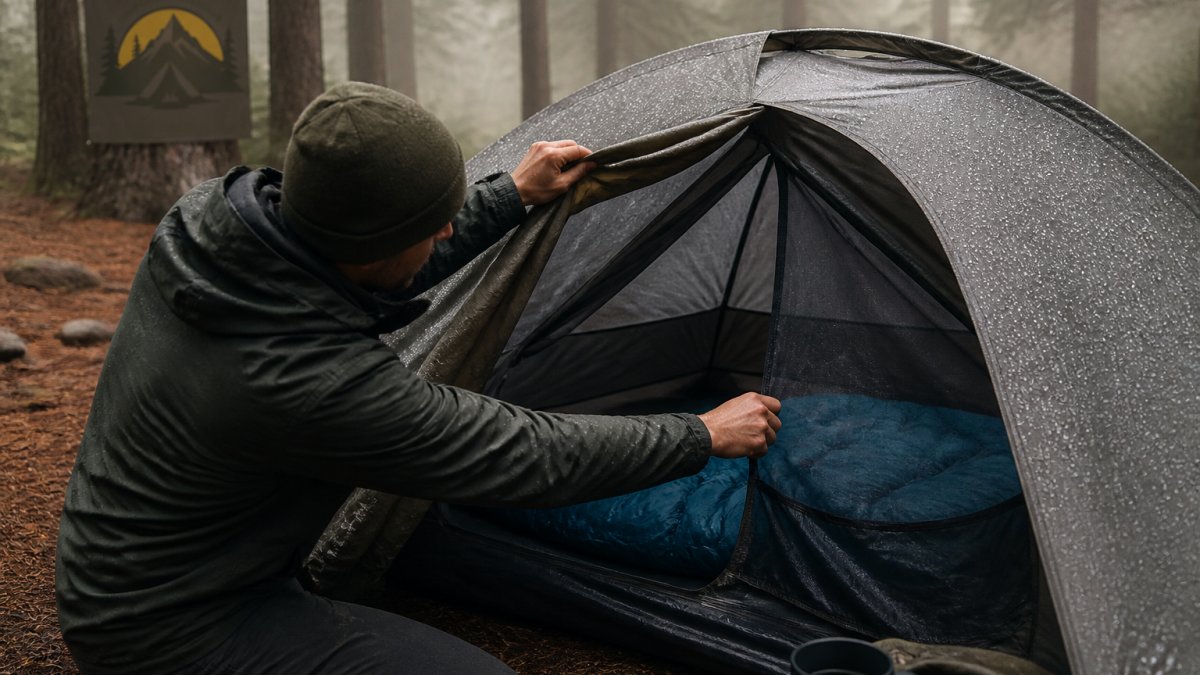
Ventilation and Air Circulation Basics
Open more than you think you should. Crack the rainfly vents, leave the door mesh partly unzipped, and keep low and high vents clear. Warm air rises and carries moisture out the top; cool dry air comes in low.
A few habits that work:
- Pitch the tent so the vents face downwind, not into the breeze
- Leave a gap between the rainfly and the tent body so vapor escapes
- Skip the sealed-up "cozy" setup, even on cold nights
What to Put Under a Sleeping Bag in a Tent
The ground pulls heat and moisture out of your bag all night. A proper barrier stops both, one of the cheapest upgrades you can make.
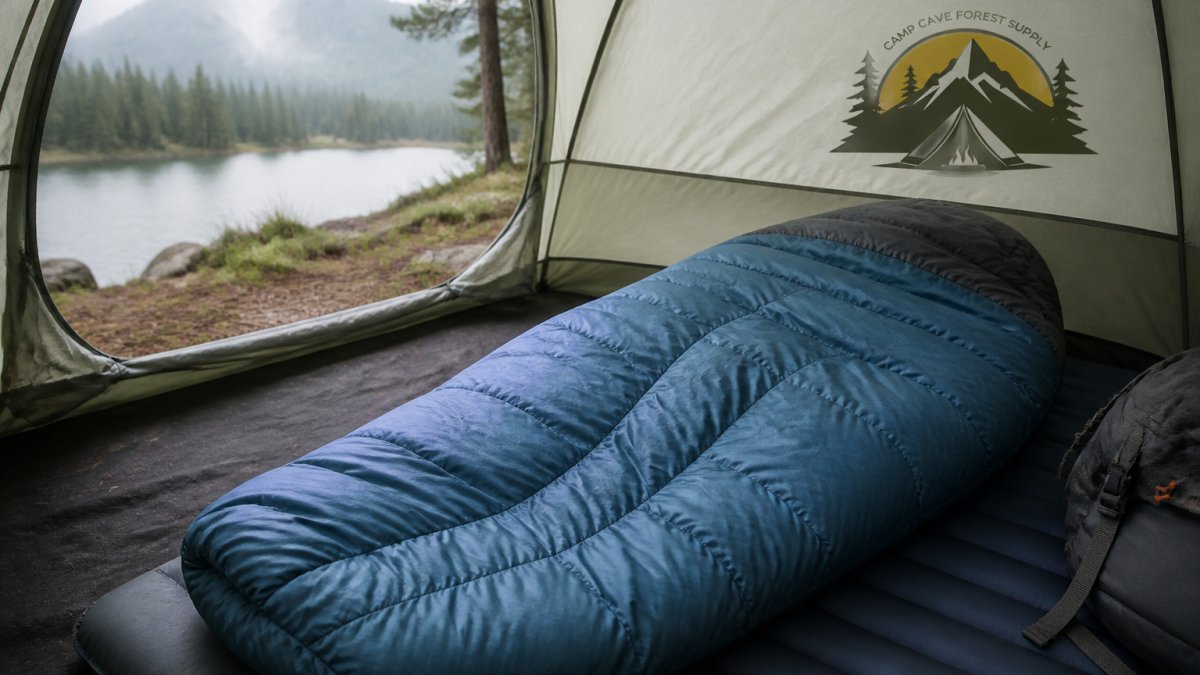
Put a sleeping pad with an insulated core under your bag, then a groundsheet or footprint under the tent floor. The pad blocks cold and damp from below.
Your layering order, bottom to top:
- Tent footprint or groundsheet
- Tent floor
- Insulated sleeping pad
- Sleeping bag
Skip the pad and you'll feel the cold seep up through the floor.
Managing Body Heat and Sweat Overnight
Most overnight dampness comes from your own body. Overdress and you sweat, soaking the bag from inside. Start slightly cool and let the bag do its job.
Follow these steps:
- Change out of sweaty clothes before bed. Day clothes carry moisture.
- Wear one thin moisture-wicking base layer. Skip the heavy fleece.
- Vent the bag's footbox if you run warm.
- Eat and hydrate before bed, but not so much you're up all night.
- Keep your breath out of the bag. Breathing inside traps vapor in the insulation.
If you wake up clammy, you're too warm; if you're shivering, add a layer. Adjust, don't seal up.
Synthetic vs. Down: Moisture Management Differences
Here's what actually matters when things get damp.
Down clusters trap more warmth per ounce and pack smaller, but lose loft fast when wet and dry slowly in the field. Synthetic insulation keeps more warmth when damp and dries quicker, heavier and bulkier, but it forgives mistakes.
A quick comparison:
| Feature | Down | Synthetic |
|---|---|---|
| Warmth per ounce | Higher | Lower |
| Loft when wet | Drops sharply | Retains more |
| Drying speed | Slow | Faster |
| Packed size | Smaller | Bulkier |
| Best for | Cold, dry trips | Damp, humid trips |
For humid climates and wet forecasts, synthetic is the safer call. For cold, dry high country, down wins on weight. If you go down, treat a waterproof barrier as mandatory, not optional.
How to Dry a Sleeping Bag While Camping
A damp bag needs moving air and mild heat, not a campfire or car heater. Move water vapor off the shell and out of the insulation before evening damp returns, the method depends on whether the bag is clammy or soaked.
Field-Drying Mechanics That Actually Work
Water leaves fabric through evaporation, which speeds up with airflow, surface area, and a vapor pressure gradient. You can't control the weather, but you can maximize the other two.
- Shake and fluff first. Clumped insulation holds water in pockets. Grab the bag by the foot and snap it like a sheet to break up wet clusters and expose more surface area.
- Lay it flat, shell-side up, on a clean tarp. Sun on a dark shell drives vapor outward. Flip every 20-30 minutes so both faces see sun and air.
- Drape over a line or branch, never a hot surface. A taut line lets air pass under the bag; a rock or log traps moisture. Avoid metal that can scorch a shell in sun.
Drying by Insulation Type
Down and synthetic dry at very different rates, so the method should change.
- Synthetic bags tolerate more heat and handling. Wring gently, shake aggressively, and lay them in sun, most dry to the touch in a few hours on a good day.
- Down bags need patience. Wet clusters stick together and lose loft; wringing can damage baffles, so shake, pat, and air instead. Surface dryness is misleading, a dry shell may hide damp clusters. Give extra air time and re-fluff the baffles by hand.
When the Bag Is Already Soaked
If the bag is wet through, drying is a safety problem. Work in this order:
- Get the water out fast. Gently press (don't twist) sections of the bag between dry towels or a spare shirt to pull bulk water out of the shell and insulation.
- Wipe the shell with a dry cloth to remove surface droplets that would otherwise re-wick inward.
- Prioritize your body, not the bag. Put on dry base layers and a hat before you handle the bag further. A wet bag with a warm body inside beats a wet bag with a cold one.
- Use a vapor barrier if you have one. A bag liner, a large plastic bag, or an emergency blanket between you and the wet insulation keeps your body heat from soaking into the wet shell.
- Add external heat carefully. A hot water bottle wrapped in a sock placed near your core, not against bare skin, extends your warmth through the night. Never put a heat source inside the bag.
- Sleep with damp gear near your body so your heat drives vapor out overnight, but keep the wettest layers outside the bag, not against your skin.
If the night is cold and the bag is truly soaked, warmth beats drying. Body heat, dry layers, and a hot water bottle are your priorities; finish drying the bag in the morning.
Choosing a Waterproof Stuff Sack for Sleeping Bag Storage
A waterproof stuff sack keeps rain, splashes, and pack-bottom puddles off your bag during the day. It is not a place to store a wet bag, and not a long-term storage solution, confusing those three jobs is how bags end up mildewed.
What a Waterproof Sack Actually Does
A waterproof stuff sack works as a vapor barrier: it blocks liquid water from reaching the bag and blocks vapor from escaping. Seal a damp bag inside and the moisture condenses against the sack, soaking back into the insulation. It protects against external water, not internal dampness.
Look for these features:
- Roll-top closure with at least three folds for a real watertight seal, a drawstring top is water-resistant at best.
- Fully taped or welded seams. Coated fabric with stitched seams leaks at the needle holes.
- A durable outer fabric that resists abrasion against pack frames and rocks.
Down vs. Synthetic: Storage Trade-Offs
The right sack and storage routine depend on your insulation.
- Down bags lose loft permanently if compressed for long periods. A waterproof compression sack is fine for transport, but at home store the bag loose in a breathable cotton or mesh sack. Never store down compressed.
- Synthetic bags tolerate compression better and resist permanent loft loss, but still benefit from loose storage between trips. A waterproof sack is fine for transport; a breathable storage sack is better at home.
A common pattern among experienced campers: one waterproof compression sack for the trail, one large breathable storage sack for the closet. Two sacks, two jobs.
Packing and Transport Tips
- Pack the bag last, on top. A bag compressed at the bottom of a pack for hours takes longer to loft back up. Give it room to recover before bed.
- Keep the waterproof sack separate from wet gear. A wet rainfly or damp tarp in the same pack compartment defeats the sack.
- Carry a spare dry sack for wet layers so they never share space with your sleeping bag.
Never store a sleeping bag long-term in a waterproof stuff sack. Trapped moisture, from a damp pack, a humid closet, or a bag packed slightly wet, has no escape route and will condense inside the insulation. Use a breathable storage sack at home and reserve the waterproof sack for transport.
Emergency Fixes for a Wet Sleeping Bag
A soaked bag at night is a safety issue. Act fast to keep your core warm.
Work through these steps:
- Wring out gently and shake off surface water.
- Wipe down the shell with a dry cloth to remove droplets.
- Put on dry layers and a hat before you get back in.
- Add a vapor barrier inside the bag if you have one, or wrap in an emergency blanket.
- Boil water and fill a bottle, wrap it in a sock, and tuck it near your core.
- Sleep with your wet gear near your body heat so it dries overnight.
If the bag is truly soaked and the night is cold, prioritize warmth over drying.
Keeping a sleeping bag dry comes down to three habits: vent the tent, block moisture from below, and manage your own body heat.
At Camp Cave Forest Supply, we stock the gear that makes each step easier, from insulated pads and waterproof stuff sacks to reliable synthetic and down bags.
Frequently Asked Questions
What should you put under a sleeping bag in a tent?
Place a closed-cell foam pad or an insulated inflatable sleeping pad directly under your bag. The pad lifts you off the cold ground and blocks ground moisture from seeping up through the tent floor. Add a tent footprint or groundsheet beneath the tent itself for extra protection. Avoid placing your bag directly on bare tent fabric, since condensation collects there overnight and will soak into the bag's shell.
Does tent condensation make a sleeping bag wet?
Yes, condensation is one of the most common causes of a damp sleeping bag. Moisture from your breath and body vapor collects on the inside of the tent fly and walls, then drips or brushes onto your bag. Managing ventilation, pitching with airflow in mind, and keeping your bag away from tent walls reduces how much condensation reaches it. A waterproof stuff sack also protects the bag during the day when condensation is heaviest.
How do you dry a sleeping bag while camping?
Loft the bag in direct sunlight and light breeze for 30 to 60 minutes, turning it periodically so both sides dry. Drape it over a clean bush, line, or tent fly rather than damp ground. If the sun is unavailable, air it inside a ventilated tent or shelter with the door open. Never put a down bag near an open flame or campfire, since synthetic shells and down clusters can scorch or melt.
Should you use a sleeping bag liner to keep your bag dry?
A liner helps in two ways: it absorbs some of your body's moisture before it reaches the bag's insulation, and it adds a washable layer that keeps the bag cleaner. Silk or synthetic liners dry quickly and pack small. For humid or cold trips, a vapor barrier liner placed inside the bag can stop sweat vapor from entering the insulation entirely, though it feels less comfortable and takes getting used to.